
Table Saw Safety and Setup: Kickback, Riving Knives, Alignment and the Habits That Protect Your Hands
The table saw is the most useful machine in many shops — and the one that demands the most respect. Here’s how to set it up and use it safely.
Most table saw injuries come from kickback or hands too close to the blade. Always use the riving knife (and guard when possible), set the blade so the gullets just clear the top of the board, align the blade parallel to the miter slot and the fence parallel to the blade, use push blocks for any rip narrower than about 6", never crosscut against the rip fence, and stand to the side of the blade.
- The riving knife is your best protection against kickback
- Align the blade and fence so the wood can’t pinch the blade
- Never use the rip fence and miter gauge together for a crosscut
- Push blocks keep hands at least 6" from the blade
On this page (9 sections)
The table saw is the heart of many woodworking shops: it rips, crosscuts, cuts joinery and sizes panels with speed and precision. It’s also the machine involved in many serious woodworking injuries. The good news is that most accidents follow predictable patterns, and a correctly set-up saw with good habits removes most of the risk.
Think of it like driving: the car isn’t dangerous on its own, but speed, distraction and poor maintenance are. Learn the rules of the road.
Understanding kickback
Kickback happens when the back of the blade — the teeth rising toward you — catches the workpiece and throws it back toward the operator at high speed. It usually happens when:
- The wood pinches the blade as the kerf closes.
- The fence is angled toward the back of the blade.
- The board drifts away from the fence mid-cut.
- A crosscut offcut gets trapped between blade and fence.
- Twisted or bowed wood rocks during the cut.
Always stand slightly to the side of the blade, not directly behind it. If kickback happens, the board flies past you instead of into you.
The riving knife and guard
A riving knife sits just behind the blade and moves with it. It keeps the kerf open so the wood can’t close on the back of the blade — the single most effective anti-kickback device. Use it for every through-cut. Use the blade guard whenever the cut allows.
Setup step by step
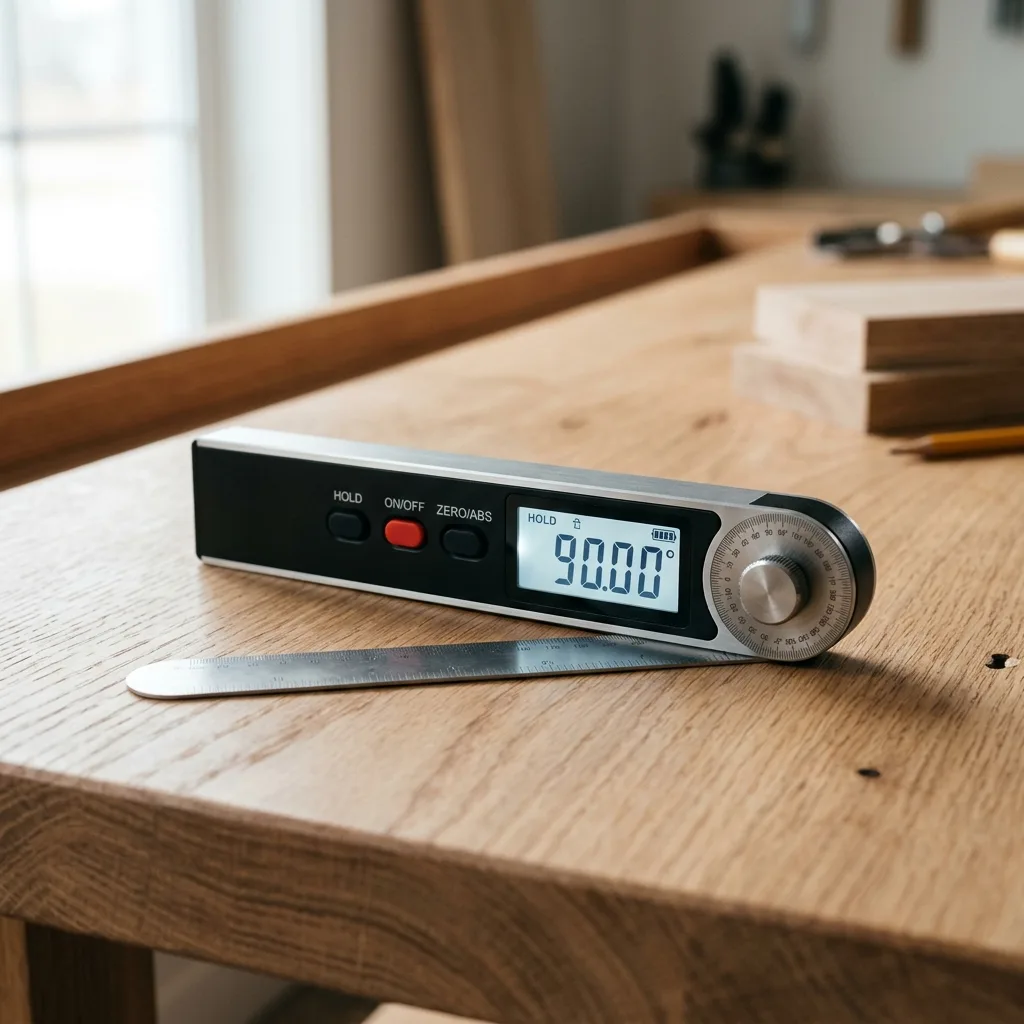
- Blade parallel to the miter slot. Mark one tooth, measure from the slot to that tooth at the front of the blade, rotate the blade and measure at the back. Adjust the trunnions until they match.
- Fence parallel to the blade (or very slightly toed out at the back). Never toed in.
- Blade square to the table at 90°, and accurate at 45°.
- Riving knife aligned with the blade.
- Miter gauge square to the blade.
Safe ripping
- Joint one edge straight before ripping so it rides the fence.
- Use a featherboard before the blade to hold the board against the fence.
- Use a push block for any rip under about 6" wide.
- Push the board all the way past the blade before reaching for the offcut.
- Support long boards with outfeed support.
Safe crosscutting
- Use a crosscut sled or the miter gauge — never the rip fence alone.
- Never use the rip fence as a length stop with the miter gauge — the offcut gets trapped. Use a stop block clamped to the fence in front of the blade instead.
- Hold the work firmly against the sled fence.
Build a sled with our table saw jigs guide.
Blade height
Set the blade so the bottom of the gullets is just above the top of the board. It’s a good balance of cut quality, heat and exposure. Lower the blade fully when the saw isn’t in use.
Personal protection
- Eye and hearing protection every time.
- No gloves, loose sleeves, jewellery or hanging cords.
- A respirator or dust collection for fine dust.
- Never reach over the blade.
- Never work tired or distracted.
Blades and maintenance
A sharp, clean blade cuts with less force and less risk. Clean resin off regularly and replace or sharpen dull blades. A quality crosscut or combination blade makes cleaner, safer cuts.
More in our tool maintenance guide.
Beginner, intermediate, pro
Beginner: learn rips and crosscuts with a sled, guard and push blocks before anything else. Practise on cheap stock.
Intermediate: dados and rabbets with a dado stack and a zero-clearance insert — remove the riving knife only for non-through cuts and reinstall it immediately.
Pro note: consider a saw with flesh-sensing technology, and still use every other safety habit. Pair this guide with our workshop safety guide and first aid guide.
Questions woodworkers ask
What causes table saw kickback?
The wood pinching or catching the back of the blade, often because the fence isn’t parallel, there’s no riving knife, the wood is twisted, or the board drifts away from the fence.
Should I use the blade guard?
Yes, whenever the cut allows. Use the riving knife for almost every through-cut.
How high should the blade be?
A common guideline is to set the blade so the bottom of the gullets is just above the top of the board.
Is it safe to wear gloves at the table saw?
No. Gloves can be caught by the blade. Wear eye and hearing protection and close-fitting clothing.
Gear from this guide

Michael Wood
Founder of WoodCraft Corner. Fifteen years at the bench, hundreds of projects, and still learning something new every week.
0 comments