
10 Woodworking Mistakes That Waste Wood and Money (and How to Avoid Them)
Most ruined projects come from the same handful of mistakes. Fix these habits and your scrap pile — and your lumber bill — shrinks fast.
The most expensive woodworking mistakes are measuring from different tapes or references, cutting before checking with a test piece, ignoring wood movement, working with dull tools, buying lumber without a cut list, using the wrong glue or too little clamping time, sanding badly before finishing, and skipping a finish test board. Fix them with one measuring reference, story sticks, cut lists, sharp tools and test pieces.
- Use one tape and one reference edge — or skip numbers with a story stick
- Make a test cut in scrap before cutting expensive stock
- Design for wood movement or tops will crack and joints will open
- Sharp tools are safer, faster and more accurate
- Plan purchases with a cut list and always test finishes on offcuts
On this page (11 sections)
- 1. Measuring from different references
- 2. Cutting good wood before a test cut
- 3. Ignoring wood movement
- 4. Working with dull tools
- 5. Buying lumber without a plan
- 6. Not checking moisture
- 7. Weak glue-ups
- 8. Rushing the sanding
- 9. Finishing without a test board
- 10. Buying the wrong tools first
- One more: skipping safety
Every woodworker has a scrap pile, and every board in it has a story. Some of those stories are worth learning from on your own; most are the same mistakes every beginner makes. Here are the ten that waste the most wood, money and weekends — and the simple habits that prevent them.
1. Measuring from different references
Two tapes can disagree by 1/16" or more, and measuring each part separately lets small errors stack up.
- Use one tape for the whole project.
- Measure from one reference edge and mark it.
- Better still, skip the numbers: transfer lengths directly from the piece, or use a story stick.
- Mark with a knife or sharp pencil, and cut on the waste side of the line.
The fraction calculator takes the error out of tape-measure maths, and calipers, rules and squares explains how precise you really need to be.
2. Cutting good wood before a test cut
Every new setup — a fence position, a blade angle, a router bit height — gets tested on scrap first. A two-minute test cut protects a $60 board.
3. Ignoring wood movement
Solid wood expands and contracts across its width with the seasons. Glue a wide top tight to its apron and it will eventually crack. Use buttons or slotted fasteners, float panels in their frames, and check your design with the wood movement calculator. More in understanding wood grain.
4. Working with dull tools
Dull blades burn, tear out and need more force — which also makes them dangerous. Sharpen chisels and plane irons regularly and replace or sharpen saw blades when cuts start burning. See chisel sharpening and hand plane tuning.
5. Buying lumber without a plan
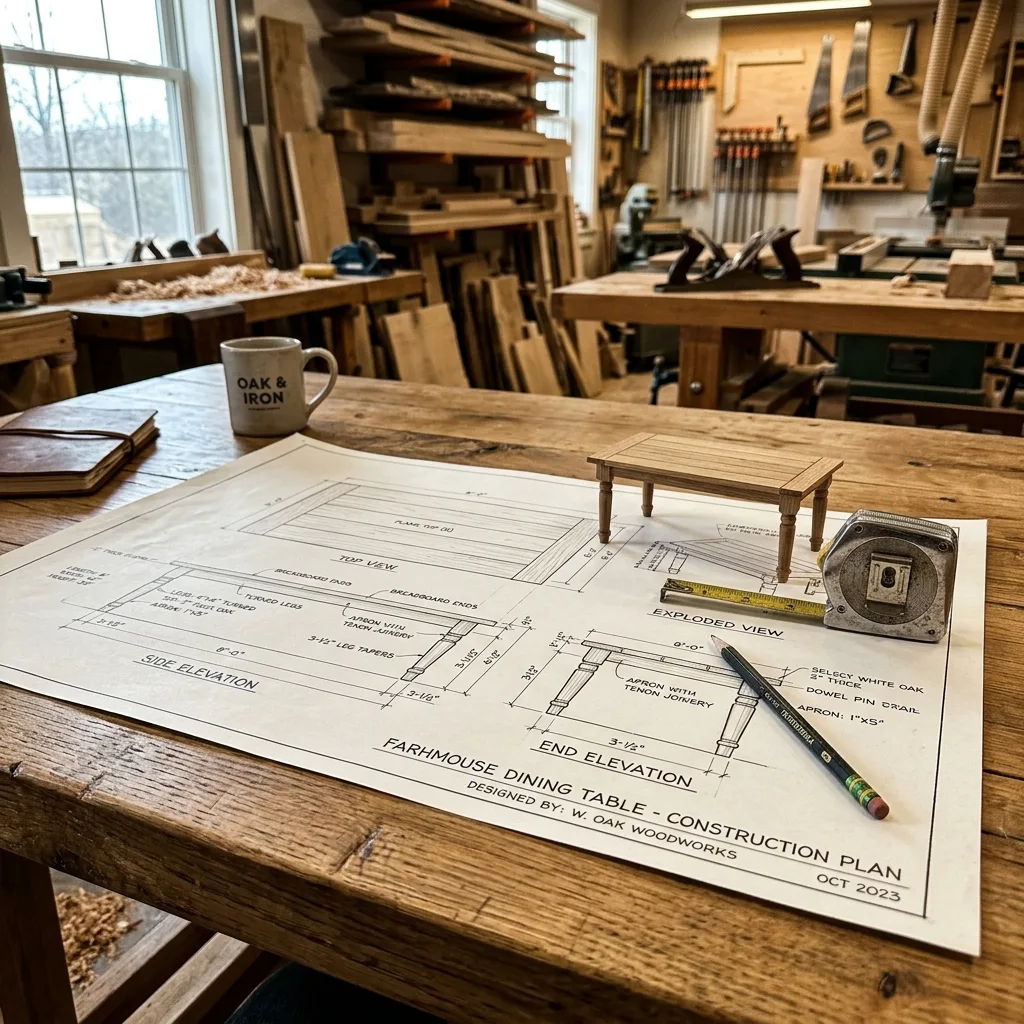
Walking into the lumberyard without a cut list leads to too much of one thing and not enough of another. Draw the project, list every part, add 20–30% for defects, and lay out the parts on the boards you plan to buy. The cut list optimizer and board foot calculator do the maths for you.
6. Not checking moisture
Wood that is still wet will shrink after you build. Check lumber with a moisture meter and let it acclimatise in your shop for a week or two before milling.
7. Weak glue-ups
| Mistake | Fix |
|---|---|
| Gappy joints filled with glue | Fit joints properly — glue is not a filler |
| Gluing end grain and expecting strength | Use joinery: tenons, dowels, dados |
| Too much clamp pressure | Clamp until there is a small, even bead of squeeze-out |
| Unclamping too early | Follow the glue’s clamp time; let joints cure before stress |
| No dry run | Always dry-fit with clamps ready before glue comes out |
A calm glue-up starts with enough clamps within reach — see our clamp rack plans.
8. Rushing the sanding
Skipping grits and pressing hard leaves swirl marks that stain makes ten times worse. Follow a proper sequence — see how to sand wood.
9. Finishing without a test board
The same stain looks completely different on pine, oak and cherry — and even on two boards of the same species. Always test the full finishing schedule on an offcut from the project, sanded to the same grit.
10. Buying the wrong tools first
An expensive tool you rarely use is money that could have bought lumber. Buy tools in the order your projects need them. Our guide to the first five power tools to buy sets out a sensible order.
One more: skipping safety
The most expensive mistake isn’t wood at all. Push sticks, riving knives, eye and hearing protection and dust control cost little compared with an injury. Read woodworking safety 101 before your next project.
Questions woodworkers ask
What is the most common beginner woodworking mistake?
Measuring errors — usually from switching tapes, reading the hook wrong, or measuring each part separately so small errors add up. Measure from one reference edge and transfer measurements directly when you can.
How do I stop wasting expensive lumber?
Plan with a cut list and layout before buying, cut parts from the longest pieces first, make test cuts in scrap, and keep offcuts organised so they get used on small projects.
Why do my glue joints fail?
Common causes are poorly fitting joints, too little glue coverage, gluing end grain, too short a clamp time, glue that is too cold, or oily woods that weren’t cleaned. Joint fit matters more than clamping pressure.
Is it worth buying cheap tools to start?
Buy fewer, better tools in the order you need them. A cheap tool that can’t hold a setting wastes wood and time. See our guide to the first power tools to buy.
How do I avoid blotchy stain?
Sand evenly, stop at an appropriate grit, use a pre-stain conditioner or gel stain on blotch-prone woods, and always test on an offcut from the same board.
Plans for your next project

Michael Wood
Founder of WoodCraft Corner. Fifteen years at the bench, hundreds of projects, and still learning something new every week.
0 comments