
French Cleat Tool Wall: The Modular Storage System You’ll Rearrange for Years
A French cleat wall lets you hang and rearrange every tool on simple 45° rails. Here’s how to build one that’s strong, tidy and flexible.
A French cleat is a strip of 3/4" plywood with a 45° bevel. Screw wall cleats into the studs with the bevel pointing up and toward the wall, spaced about 6"–8" apart vertically, and attach matching cleats with the bevel pointing down to the back of each tool holder. Hang the holder on any wall cleat; gravity locks the bevels together. Build holders for each tool and move them whenever your workflow changes.
- Rip cleats at 45° from 3/4" plywood — one rip makes two cleats
- Wall cleats must be screwed into studs
- Space cleats about 6"–8" apart for flexible placement
- Design holders so tools are visible and easy to grab
On this page (13 sections)
Pegboard hooks fall out. Fixed cabinets lock tools in place forever. A French cleat wall is different: a series of 45° wooden rails on which custom holders hang, lift off and move anywhere. It’s like LEGO for your tool collection — and once you build one, you’ll keep improving it for years.
How it works
- Wall cleat: a horizontal strip screwed to the studs, bevel facing up and toward the wall.
- Holder cleat: a matching strip on the back of a tool holder, bevel facing down and toward the wall.
Hang one over the other and gravity pulls the bevels together. The more weight on the holder, the tighter it locks.
Step 1: Cut the cleats
- Rip 3/4" plywood into strips about 3-1/2" to 4" wide.
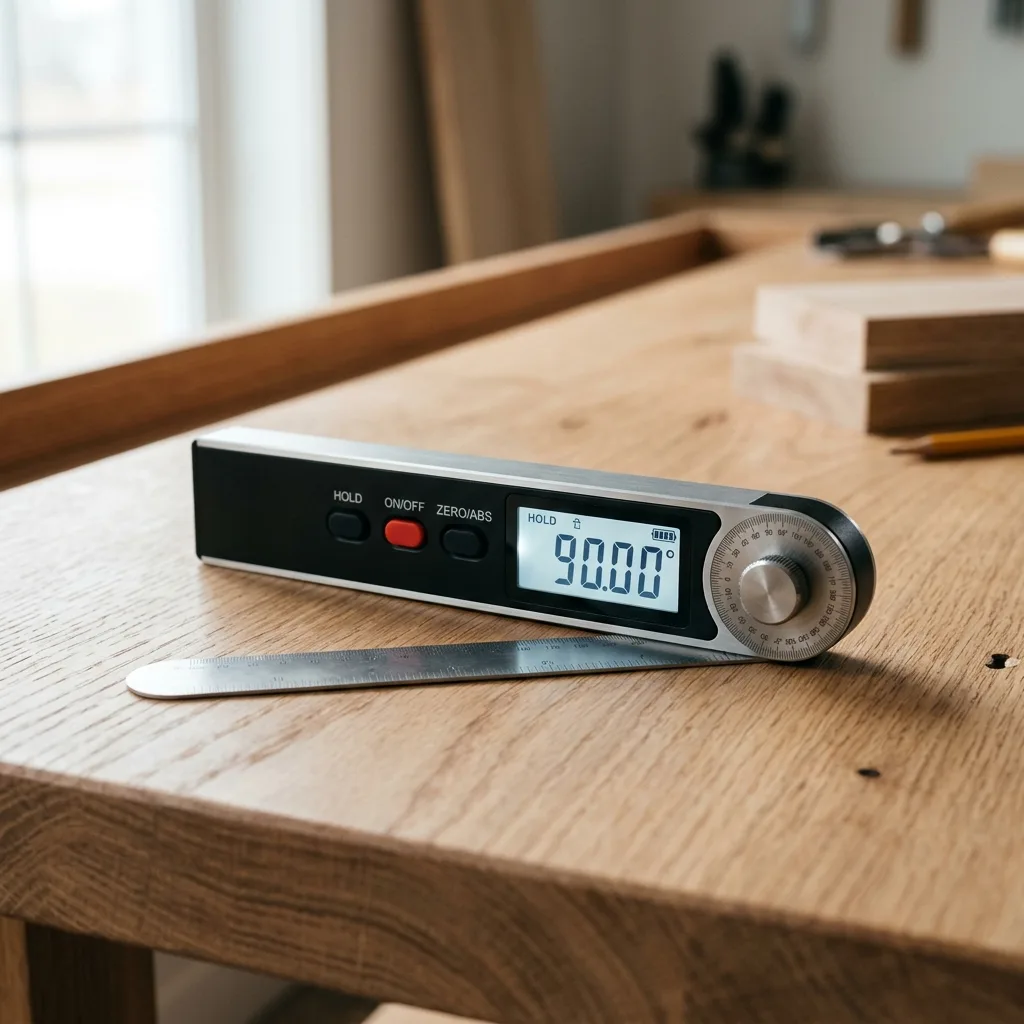
- Tilt the table saw blade to 45° and rip each strip down the middle. Each cut makes two cleats.
- Break the sharp edges slightly so they don’t splinter.
Ripping long strips at a bevel needs a riving knife, a featherboard and a push block. Keep the bevel on the side away from the fence so the cleat doesn’t get trapped. See our table saw safety guide.
Step 2: Mount the wall cleats
- Find and mark every stud with a stud finder.
- Screw the first cleat level at your lowest useful height, into every stud it crosses.
- Use spacer blocks to set the next cleat 6"–8" above, and repeat up the wall.
- For a cleaner look, mount the cleats over a plywood backer screwed to the studs.
Step 3: Design your holders
Chisel rack
A block with angled slots or holes so chisels hang edge-down and visible. Protects edges and makes the right size easy to grab.
Saw till
Slotted rails that hold handsaws by the blade, teeth facing the wall.
Drill and driver station
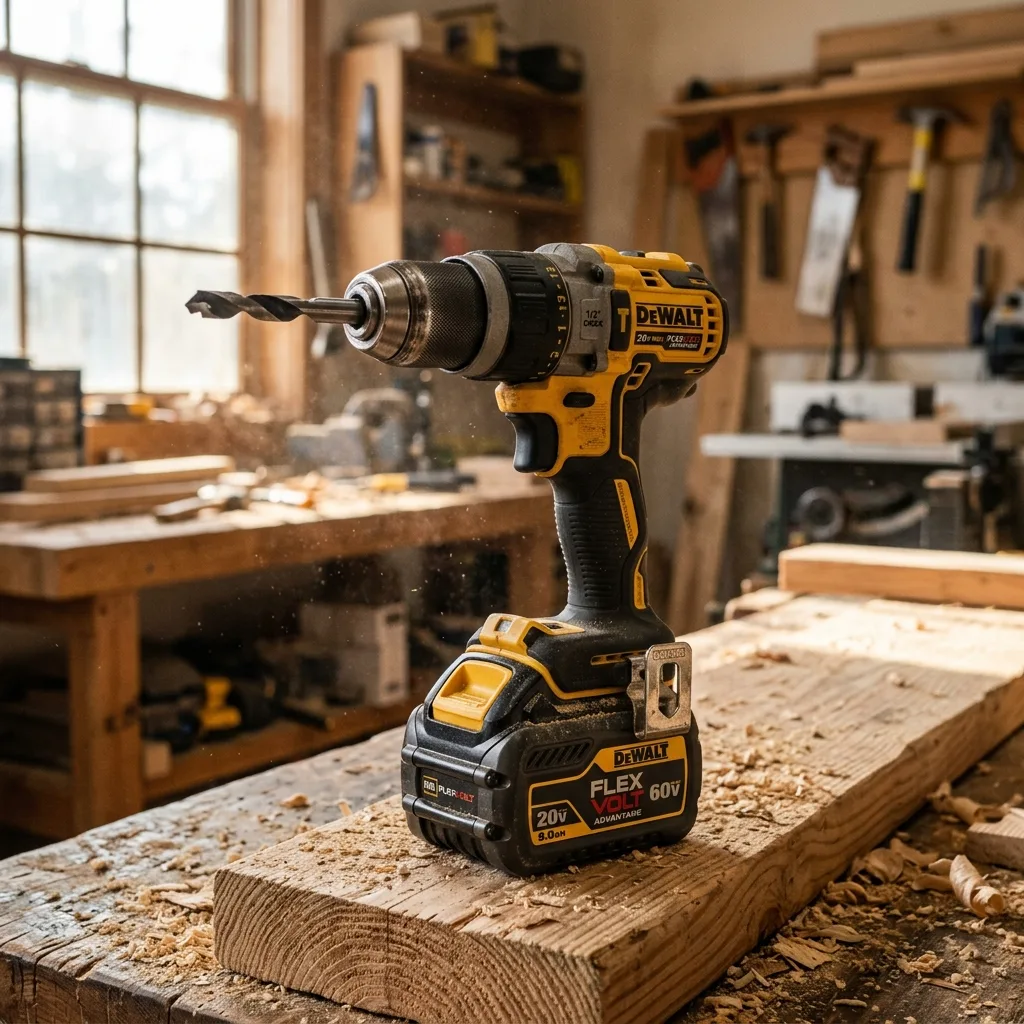
A shelf with slots for drill handles and a charging shelf above for batteries. Route power to it neatly.
Clamp racks
Heavy-duty racks spanning several studs — see our clamping station guide.
Plane shelf
A tilted shelf with a lip, so planes rest on their sides or with the blade raised off the surface.
Bins and boxes
Small open boxes for screws, pencils and marking tools like your combination square and marking knife.
Design principles
- Group tools by task: layout tools together, sharpening together, drilling together.
- Keep frequent tools at eye-to-waist height.
- Make everything visible: if you can’t see it, you’ll buy it twice.
- Leave empty cleats for future tools.
Paint the wall behind the cleats a light colour and outline each tool on its holder. You’ll see instantly what’s missing at the end of the day.
Good lighting for a tool wall
A tool wall works best when it’s well lit — shadows hide tools and labels.
More in our workshop lighting guide.
Beginner, intermediate, pro
Beginner: three or four cleats above the workbench and simple box holders.
Intermediate: a full wall with dedicated holders for each tool family.
Pro note: design holders as standard-width modules (say, multiples of 6") so they fit together neatly and look like a system. Plan the wall alongside your workshop layout and use cleats to mount cabinets, a Murphy desk or a floating nightstand around the house.
Questions woodworkers ask
What angle should French cleats be?
45° is standard. It locks securely and is easy to cut on a table saw or with a circular saw.
What material should I use?
3/4" plywood is strong and stable. MDF works for holders but not for load-bearing cleats.
How far apart should cleats be?
About 6"–8" vertically gives flexibility. Some woodworkers cover the whole wall in cleats for maximum options.
How much weight can a French cleat hold?
A lot, when screwed into studs with good screws. Heavy items like clamp racks should span several studs.
Gear from this guide

Michael Wood
Founder of WoodCraft Corner. Fifteen years at the bench, hundreds of projects, and still learning something new every week.
0 comments